.conf tweaks) for optimal performance to mastering essential commands (mount, imgmount, swapping CDs) and running your favorite MS-DOS classics.
Somehow, there’s truly a special kind of magic in the pixelated graphics and the synthesized soundtracks of classic MS-DOS MS-DOS (Microsoft Disk Operating System): A command-line operating system developed by Microsoft, widely used in the 1980s–1990s as the foundation for early PC software and games. games. For many of us, they were our first digital adventures. But getting those golden-age titles to run on modern Windows machines can feel like a daunting task. Thankfully, DOSBox steps in as the perfect bridge between modern tech and vintage charm.
DOSBox is a powerful emulator that creates a virtual MS-DOS environment, letting you relive classics from the 80s and 90s with remarkable accuracy. While I’ve covered the history and technical background of this incredible software in painstaking detail in earlier posts — like my overview of what DOSBox is (The Go-To MS-DOS Emulator) and a deep dive into how it works under the hood (DOSBox Explained) — this guide is all about real action.
Today, I’m rolling up my sleeves and walking you through everything you need to know to get up and running. From installation to configuration and launching your first game, this step-by-step tutorial will make the process simple and fun.
Table of Contents
Getting Started: Downloading & Installing DOSBox on Windows
First things first, let’s get the software onto your PC.
Step 1: Download the Official Version
Head over to the official DOSBox download page. Here, the website will automatically detect that you’re on Windows and present the correct version.

As of this writing, the latest stable version is 0.74-3 (Win32 installer), released by the project’s original developers (Peter “Qbix” Veenstra). You can also click the download link below to grab the Windows installer directory from SourceForge.
- Direct Download Link: DOSBox v0.74-3 Installer
- Filename: DOSBox0.74-3-win32-installer.exe
Step 2: Run the Installer
Once the download is complete, double-click the .exe file to begin the installation.
- Installation Path: The installer will default to
C:\Program Files (x86)\DOSBox-0.74-3. You can change this to another location if you prefer, likeE:\DOSBox\DOSBox-0.74-3.
I highly recommend changing the default path to make it easier to find and avoid any system folder weirdness. The defaultC:\Program Files (x86)...can sometimes cause permission issues.
It’s best to choose a custom installation path instead of the default Program Files directory to avoid permission issues. - Components: During setup, make sure the Desktop Shortcut option is checked. This will give you easy access to the application.

Be sure to check Desktop Shortcut for quick and easy access.


After installation, you’ll find the DOSBox shortcut on your desktop. Interestingly, this shortcut is placed in C:\Users\Public\Desktop instead of C:\Users\<YourUser>\Desktop, which means it’s available to all user accounts on your computer (all Windows user profiles will see it).
Now if you right-click the shortcut and select Properties, you’ll see the Target field looks something like this:E:\DOSBox\DOSBox-0.74-3\DOSBox.exe -userconf
(Here, “E:\DOSBox\DOSBox-0.74-3” is the folder you selected earlier during installation.)

That -userconf parameter is important. It tells DOSBox to use a configuration file unique to your Windows user profile (per-user config), so your settings won’t interfere with anyone else’s.
Your First Launch: A Quick Tour of the DOSBox Interface
Double-click the DOSBox shortcut to open it. You’ll be greeted by two windows:
- The Status Window: This console provides real-time feedback and diagnostic information. Pay attention to the line that says “CONFIG: Loading primary settings from config file
C:\Users\<YourUser>\AppData\Local\DOSBox\dosbox-0.74-3.conf“. This tells you the exact location of your personal configuration file, which we’ll edit later.
💡 Again, this file is separate per-Windows user account. - The Main Window: This is your virtual MS-DOS environment, the heart of the emulator. It’s your portal back to the MS-DOS command line.

Hehe… Don’t worry if this looks intimidating. You don’t need to be a tech wizard or something to use DOSBox effectively. I’ll walk you through everything, step by step. 🙂
To get your bearings, type intro and press Enter for a quick overview of the program’s features.


And for a list of default keyboard shortcuts (keybindings), type intro special.

When done, you can simply type exit and hit Enter to close the program.
The Core Concept: Mounting a Virtual Drive (How It Works)
Before you can run an app or play a game, you need to understand one essential/crucial command: mount.
When you first launch DOSBox, you’ll see a black command-line window with a Z:\> prompt. This is the most common place new users get stuck.
Here’s the key: DOSBox is an emulator. It’s a sandboxed computer inside your real computer. It cannot see your actual hard drives (like your C: drive or D: drive) for security reasons — unless you explicitly allow it.
Just like in classic MS-DOS, you have to tell the system where your files are. The mount command lets you link a folder from your modern Windows system and make it appear as a virtual drive (like C:) inside DOSBox. This keeps the emulator sandboxed, safely isolated from your actual file system while keeping things simple.
In short, you need to tell DOSBox which of your real folders it should treat as a virtual hard drive. This process is called “mounting.”
You’ll use the mount command. The format is:
mount <virtual_drive_letter> <path_to_real_folder>
For this guide, let’s set up a clean folder structure. On your real computer, create a new folder for your virtual C: drive — for example: E:\DOSBox\C.
This folder will become your virtual C: drive inside DOSBox. This is where you’ll install and store all your classic games (think of it as your retro gaming “home base”). I’ll show you the exact steps to put it into practice in the next part.
Let’s Play! A Step-by-Step Guide to Running Your First Game
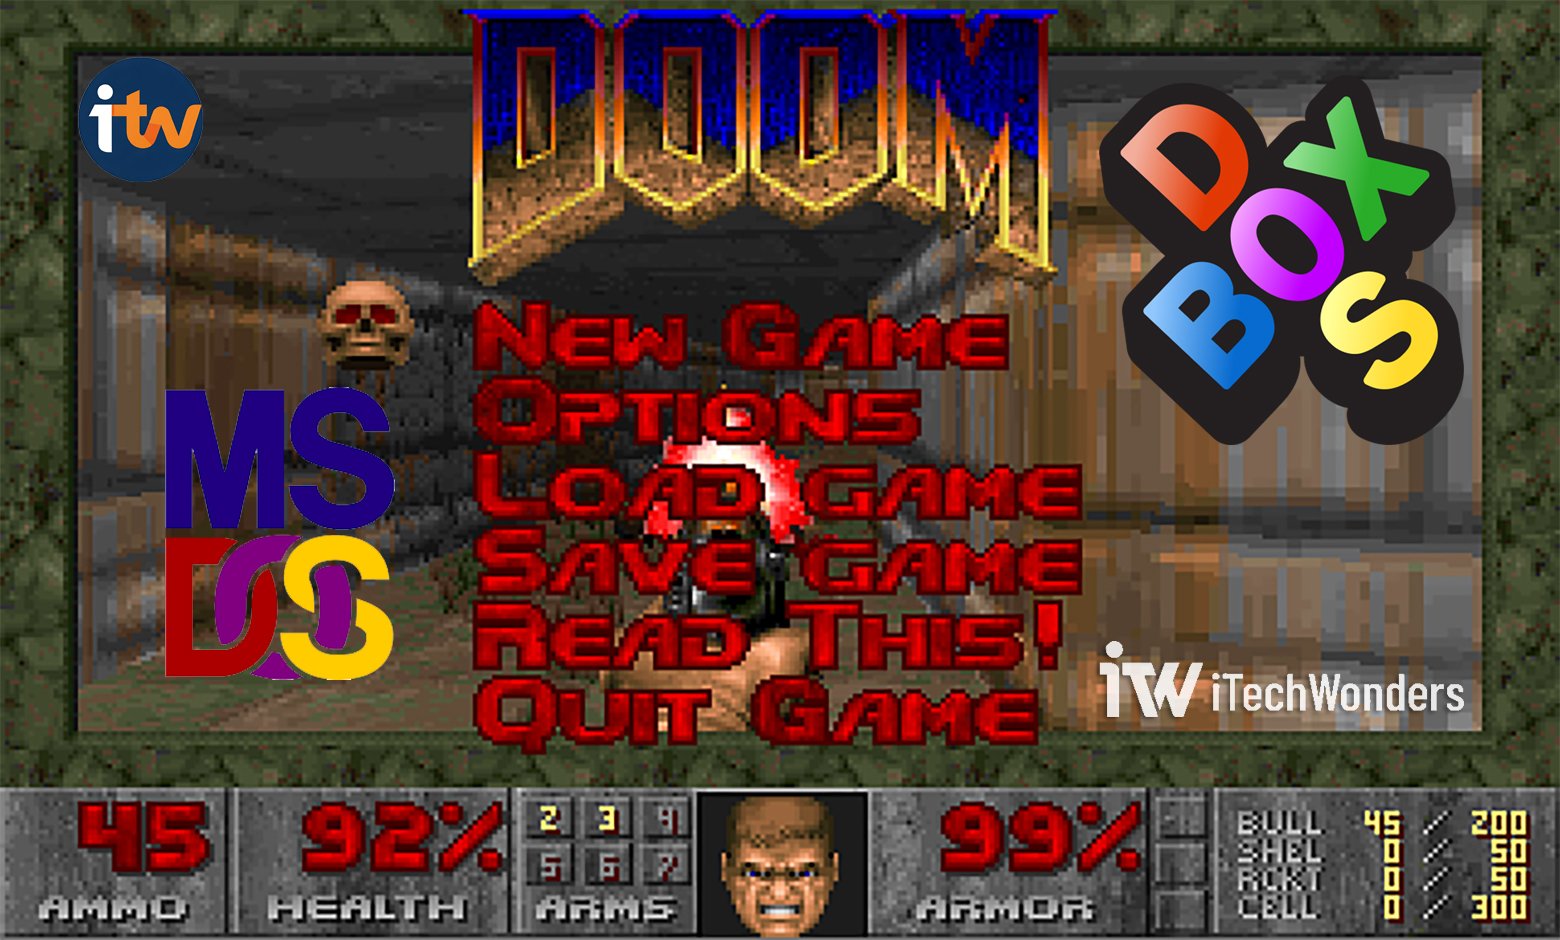
There’s no better way to learn than by doing, right? So I’m going to use the legendary 1993 shooter, DOOM, as today’s example. Other classic games will be featured in future posts, so stay tuned.
Step 1: Find and Download a Classic Game
You can find legitimate, shareware, or abandonware versions of many classic DOS games online. One of the reliable sources is the DOS Games Archive.
For this guide, I’ll be using the shareware installer version (doom19s.zip).
 from DOS Games Archive")
💡 If you prefer not to use the installer, you can also download DOSBOX_DOOM.ZIP here and simply run DOOM.EXE directly.
As an alternative, you might also consider the official GOG key from Instant-Gaming, which is often available at a slightly lower price.
Step 2: Organize Your Game Files
After downloading, unzip the file. Check the dates, and… wait, what? Last modified 1995? OMG — that’s over 30 years ago! Wow, the nostalgia! You know, what a true blast from the past! 🤯

Now, let’s create a clean folder structure. Inside your main DOSBox installation directory (e.g., E:\DOSBox), create a new folder. Let’s name it C. This folder will serve as our virtual C: drive. Inside that C folder, create another one called Games.
Finally, place the unzipped DOOM files into a dedicated folder. In that case, our final path should look like this:E:\DOSBox\C\Games\DOOM
DOOM, CANDC, MONKEY) and avoid special characters. This helps prevent potential issues, like names getting truncated, which can happen with how MS-DOS reads file paths.
Once that’s done, it’s time to… try launching the game. I say “try” because, for the best experience, we’ll need to tweak the DOSBox (.conf) a bit. I’ll walk you through the details next — but I know many of you are eager to jump right in (the game) now. LOL!
Step 3: Mounting Your Virtual C: Drive
Launch DOSBox again by double-clicking its desktop shortcut. Now, we’ll use the mount command. At the Z:\> prompt, type the following and press Enter after each line:
mount C E:\DOSBox\C
C:
Let’s break that down:
mount C E:\DOSBox\C: This command tells DOSBox to treat your realE:\DOSBox\Cfolder as the virtualC:drive inside the emulator. Again, you can choose a different path but make sure the command starts withmount C.C:: This switches the active directory from the defaultZ:\to your newly mountedC:drive. In other words,C:now becomes your local working directory inside DOSBox. From here, you can run games, navigate folders, and manage files — all within the virtualC:drive.- 📝 Note: The
Z:drive still exists and contains DOSBox’s internal tools. You can mount additional drives or switch between drives anytime.

Step 4: Navigating to Your Game Directory
Now that you’re in your virtual C: drive, you can use classic DOS commands to navigate.
- Type
dirto list the contents of the current directory. Here, you should see yourGamesfolder.
Typing “dir” at the C:\> prompt shows the Games folder. - Type
cd Games\DOOMto change the directory to your DOOM folder.

💡 Pro tip:
If a folder is crowded with files, you can filter the dir command to find the game’s executable. Try dir *.exe or dir *.bat to list only the executable files. This will make it easier to identify the name of the file used to launch the game.
Step 5: Installing and Running the Game
We’re now in the C:\Games\DOOM directory. A quick dir command shows a file named INSTALL.BAT.

Here, simply type install and press Enter to begin.
(This runs the INSTALL.BAT file.)
The DOOM installation screen will appear. Just follow the on-screen prompts.
- Choose Drive: Select
C:as the installation drive.
Simply press “C” on your keyboard! - Confirm Directory: Press Enter and then “Y” to install into the default
\DOOMdirectory. - Installation will now begin. It usually takes around 15 to 30 seconds, depending on your system speed.

Installing the game in DOSBox… please wait! - Sound Card Setup: This was a huge deal in the 90s! For DOSBox, the answer is almost always “Sound Blaster” or “Sound Blaster 16.” When prompted, simply choose “Sound Blaster” for both the Music Card and Sound FX Device. Use the arrow keys and Enter to select it.

A familiar sight for 90s gamers. Choosing “Sound Blaster” is almost always the right call in DOSBox. - Port/IRQ/DMA: The default settings (Port 220, IRQ 7, DMA Channels 1, Sound FX to mix / Digital Channels 3) are usually perfect.
- Controller Type: Select Keyboard + Mouse for the best experience.

Select “Keyboard + Mouse” for the full experience. - Save and Launch: Finally, select “Save parameters and launch DOOM.”

The final step — select “Save parameters and launch DOOM” to start playing!


And… Hooray, there it is! You’re back in 1993, ripping and tearing through pixelated demons. xD

💡 Note:
- You can always press
Alt + Enterat any time to toggle between windowed and fullscreen mode. - To exit the game, hit Esc and follow the prompts. To quit DOSBox itself, type
exitat the command prompt. - Some installers place the real game files under
C:\DOOMor similar; if so, navigate there after install. - For games that don’t have an installer, you can typically just navigate to their directory and run the main
.exefile directly.
And that’s how you install and run a game on DOSBox. You can do quite the same for other titles or legacy apps. 😊
Supercharge Your Experience: Essential DOSBox Configuration Tweaks
Playing the game is fun, but to get the best performance and visuals, you’ll want to tweak DOSBox’s configuration file.
Remember that file path from the status window? You can navigate to it manually (for instance: C:\Users\<YourUser>\AppData\Local\DOSBox\dosbox-0.74-3.conf), or you can simply go to the Start Menu > DOSBox 0.74-3 Options.

This will open the master configuration file (dosbox-0.74-3.conf) in Notepad. This is the control center for your DOSBox experience.

.conf file is where you can fine-tune DOSBox’s performance and visual settings.
Now, let’s look at the most important settings — these are also the key sections I normally touch!
💡 Use Ctrl + F in Notepad or Notepad++ to find these settings quickly.
[sdl] Section: Display and Input
Here’s how to fine-tune how DOSBox looks and how it handles your keyboard/mouse.
fullscreen=false: Change this totrueif you want DOSBox to launch directly into fullscreen mode. Press Alt + Enter to go back.fullresolution=original: By default DOSBox uses the original resolution of the game. You can change it to your monitor’s native resolution (for example1366x768,1920x1080) or todesktopwhich automatically uses the desktop resolution.
For best effect: use your monitor’s native resolution, and pair it (combine) withaspect=true(see below) in the[render]section to maintain correct proportions.windowresolution=original: The default value is safe, it uses the game’s native resolution for windowed mode. You can set a fixed window size here, like800x600or1024x768, but keep in mind it’s not the same asfullresolution(so you don’t want this too high typically).output=surface: Default issurface, which is highly compatible but does not support scaling or proper aspect-correction. If you have a decent graphics card, change this tooutput=openglfor better scaling/performance.
Also possible:overlay,openglnb,ddraw(older DirectDraw mode, Windows only). If OpenGL causes issues,ddrawcould be a good second choice. In short, chooseopenglwhen possible.autolock=true: This setting automatically “locks” your mouse inside the DOSBox window when you click, which is very useful for first-person shooters and strategy games. To release the mouse and get it back to Windows, just press Ctrl + F10.- If you set
autolock=false, the mouse will not be trapped automatically, which is handy if you’re just doing quick keyboard-only apps. - 🧩 When you switch to fullscreen (Alt + Enter), DOSBox typically locks the mouse regardless of
autolocksetting (since there’s no “outside” window to exit to).
- If you set
usescancodes=true: The default value istrue, and this setting lets DOSBox emulate the old PC-keyboard layout properly (especially for “US layout” games).
⚠️ On non-US keyboard layouts (especially on Linux or macOS), havingusescancodes=truemay cause weird key behaviors or mismappings. In that case, you may want to try setting it tofalse.
fullresolution to a non-original size (your monitor native) and you want correct proportions (so games don’t appear stretched), then in the [render] section you’ll need to set aspect=true. Many retro games assume 4:3 aspect, so this helps maintain the correct look (otherwise the pixels will be forced into a 4:3 ratio, weirdly stretching them horizontally). See more!
[dosbox] Section: Memory
memsize=16: This sets the amount of RAM (in megabytes) available to the emulator. The default of 16 MB is fine for most games, but for more demanding titles from the mid-to-late 90s, increasing this tomemsize=32ormemsize=64can improve performance.More memory helps with titles like Daggerfall or Command & Conquer, but excessive values won’t improve performance beyond a point. In most cases,memsizeshould not be higher than 63!
[cpu] Section: Core & Cycles (Performance)
core=auto(default): This instructs DOSBox to pick the best available core automatically (usuallynormalfor older, simpler games;dynamicfor newer/protected-mode). You can change this tocore=dynamicas the dynamic core intelligently adjusts CPU usage and generally provides the best performance and compatibility, especially on modern CPUs. But be aware: some older games or self-modifying code may not work well withdynamic, and this option is not present on all host platforms. See more!cycles=auto: For maximum power, change this tocycles=max. This tells DOSBox to use as much of your host computer’s power as needed. However, some older, speed-sensitive games might run too fast (or even crash); for those, you can set this to a fixed number, likecycles=fixed 4000. In many cases, usingcore=normalmay give better compatibility.
💡 Hint:- Cycles can be manually increased/decreased during the game by pressing CTRL + F11 (down) and CTRL + F12 (up).
- See more possible values here.
The Magic of [autoexec]: Automate Your Setup
Tired of typing the mount commands every time you start DOSBox? Then this section is your best friend. At the bottom of your .conf file, you’ll find the [autoexec] section. Any commands you place here will run automatically on launch.
Scroll to the very bottom of the .conf file and add your mount commands:
[autoexec]
# Lines in this section will be run at startup.
# You can put your MOUNT lines here.
mount C E:\DOSBox\C
C:
Save the file and close it. Now, every time you start DOSBox, it will immediately mount your E:\DOSBox\C folder as the C: drive and switch to it. You’ll never have to manually type those lines again.
Final Notes & Caveats
- One size does not fit all games: there is no “perfect”
.conffile that works for every DOS game. Some titles may need lower memory, different cycles, special cores, or even additional settings (e.g., machine type, joystick, sound card emulation). - When adjusting settings, do so incrementally and test the game. If it crashes or acts strangely after a change (too fast, graphical glitches, sound crackle), revert or try a different combination.
- Keep backup copies of your
.conffile when you customize it — that way you can switch profiles for different games (e.g., “HighMemGames.conf”, “LowResGames.conf”). - On modern hardware, using
core=dynamic+cycles=max+output=opengl+ correctfullresolutioncan give near-native resolution visuals and smooth performance. But for compatibility with older games (especially pre-1995 or direct hardware access titles), you may need to use more conservative settings (core=normal,fixed cycles,output=surface,memsize=16).
Advanced Tips for the Retro Enthusiast
Once you’ve mastered the basics, you can explore some of DOSBox’s more powerful features for handling floppy disks and CD-ROMs.
Mounting Floppy Disks and CD-ROMs (mount vs. imgmount)
It’s important to know the difference between two key commands:
mount: Used for physical drives or real folders on your host system.imgmount: Used for mounting disk image files (.iso,.img,.ima, or.bin/.cue).
Mounting a Floppy Drive (Physical)
If your PC still has a physical floppy drive, you can mount it like this:
mount A A:\ -t floppy
(Here, A becomes the emulated A: drive inside DOSBox.)
This command tells DOSBox to treat your host machine’s A:\ as a real floppy drive inside the emulator.
Mounting a Floppy Disk Image
If you have a floppy image file instead (commonly .img or .ima), use:
imgmount A "E:\Images\floppy.img" -t floppy
(Replace E:\Images\floppy.img with your actual path and filename.)
This lets DOSBox mount the image as drive A:.
✍️ Always include -t floppy so DOSBox knows the correct drive type.
Mounting a CD-ROM Drive or CD Image
Many classic DOS titles, like Command & Conquer, require a CD-ROM. So here’s how to handle that.
If you have a physical or virtual CD-ROM (say your D: drive), you can do:
mount D D:\ -t cdrom
This works as long as your host actually has a D: drive (physical or virtual) available. If not, you might get an error like “Drive D does not exist” or “Unable to mount drive”. That happens when the drive letter doesn’t exist on the host, so do double-check the letter or that your ISO is mounted in Windows (e.g., via WinCDEmu, Virtual CloneDrive, or File Explorer).
If instead you have a CD image file, such as an ISO or BIN/CUE file, use:
imgmount D "E:\Images\game.iso" -t iso
(Simply swap in your real path and filename, such as: imgmount D "E:\DOSBox\ISO\NOD.iso" -t iso)
You can also mount a .cue file for mixed-mode CDs (with audio tracks):
imgmount D "E:\Images\game.cue
(DOSBox treats .cue/.bin pairs as CD images, ensuring full audio compatibility.)
Handling Games That Check CD Labels
Note that some older games don’t just check that the CD is present, they check the label of the CD for authenticity as well. For example, with Command & Conquer, you might unzip the ISO or copy files and then mount it like this:
mount D E:\DOSBox\CDs\ComConq -t cdrom -label GDI
mount D E:\DOSBox\CDs\ComConq -t cdrom -label NOD
Here, the -label GDI or -label NOD ensures the emulated CD drive appears with the correct label, so the game passes its CD-check.
💡 Important Notes:
- The
mountcommand is for real directories or drives (physical). - The
imgmountcommand is for image files, and supports types:-t floppy→ for floppy.img/.imafiles.-t iso→ for CD.isoor.cue/.binfiles.-t hdd→ for hard disk image files (.img,.vhd, etc).
- If you mount a CD image as drive
D:(standard for many games), make sure the game expectsD:. - If you’re using a folder instead of mounting the ISO, you can still mount it as a virtual CD-ROM folder. For example:
mount D E:\DOSBox\CDs\ComConq -t cdrom -label GDI
- If your host machine doesn’t actually have a
D:drive (physical or virtual), usingmount D D:\ -t cdromwill fail.
Swapping Multiple CDs… Like a Pro (Important!)
If the game has multiple CD-ROMs, you can enter the command as follows:
imgmount D <Path to first image file> <Path to second image file> ... -t iso
For example:
The game “Under a Killing Moon” consists of two image files, UAKM_1_2.iso and UAKM_2_2.iso, here you can enter the following command:
imgmount D E:\DOSBox\ISO\UAKM_1_2.iso E:\DOSBox\ISO\UAKM_2_2.iso -t iso
To emulate switching CDs, use the Ctrl + F4 key combination: once you’ve reached the last disc, DOSBox loops back to the first one.
🧩 Here’s the thing:
If you’ve ever played a DOS game that originally came on multiple CD-ROMs — say Disc 1, Disc 2, and so on — you’ll probably remember that moment when the game suddenly pauses and says something like:
“Please insert Disc 2 to continue.”
Back in the day, that meant physically swapping discs. But here in DOSBox, there’s a much easier way. When you mount all your ISO images at once using the IMGMOUNT command, you can switch between them instantly without leaving the game.
All you need to do is press Ctrl + F4, and DOSBox will jump to the next mounted disc image in the list. It’s that simple — no need to unmount or remount anything manually.
However, please keep in mind that this little shortcut is part of the magic of the IMGMOUNT command (and it only works with it — not with the regular MOUNT command).
And here’s a neat bonus: once you reach the last disc, pressing Ctrl + F4 again loops you back to the first one. So you can cycle through all your discs endlessly without ever touching a single physical CD tray.
Wrapping Up
That’s it! You’re now equipped with everything you need to dive into the vast library of MS-DOS classics. While I’ve covered a lot here, remember, half the fun comes from experimenting and discovering what works best for each game. Every title has its quirks. Some games might require unique settings, so don’t be afraid to tweak your configuration for the perfect experience.
Now it’s your turn to fire up those old favorites — whether it’s Wolfenstein 3D, SimCity 2000, or that one obscure game you haven’t played in decades.
💬 I’d love to hear from you: Which MS-DOS games are you re-playing, what setups or tricks worked best for you, or is there that hidden gem you found on a shareware disk years ago? Whatever it is, feel free to drop your thoughts, questions, or even your nostalgia stories in the comments below — I read and reply to every one. Sharing your experience also helps other readers get the most out of their retro adventures.
And hey, if this guide brought back some good memories or helped you get a stubborn classic running again, you can always show a little love by buying me a coffee (or two!) through the Buy Me a Coffee or Ko-fi buttons/widgets. Totally optional, but every bit helps keep me inspired and motivated.
Thanks for stopping by. Good luck, and happy retro gaming! 🕹️
Troubleshooting & quick reference
- Black screen / bad scaling — try changing output to
openglandaspect=true. Confirmfullresolutionmatches your monitor. - Weird keyboard mapping — check
usescancodes=true. If you use a non-US layout, try switching it to false (usescancodes=false). You can use Ctrl + F1 inside DOSBox to open the key mapper and remap problematic keys. - Audio problems — make sure in the game installer you pick Sound Blaster. You can also tweak IRQ/DMA in the emulator settings if needed.
- Mouse locked in window — press Ctrl + F10 to toggle mouse capture.
- Mounted drive not refreshing — press Ctrl + F4 or use the rescan/recycle commands to refresh mounted drives when files change on the host.
On top of that:
- Put your common mount lines into the
[autoexec]section of a.confso that your drives are always auto-mounted at startup. - If a game requires unique settings, create a duplicate
.conffor that game and launch DOSBox with-conf path\to\game.conf. - When in doubt, check the DOSBox Wiki for the official command syntax — it’s a reliable, well-documented resource with quick answers and examples.
Enjoyed the article?
![]()